
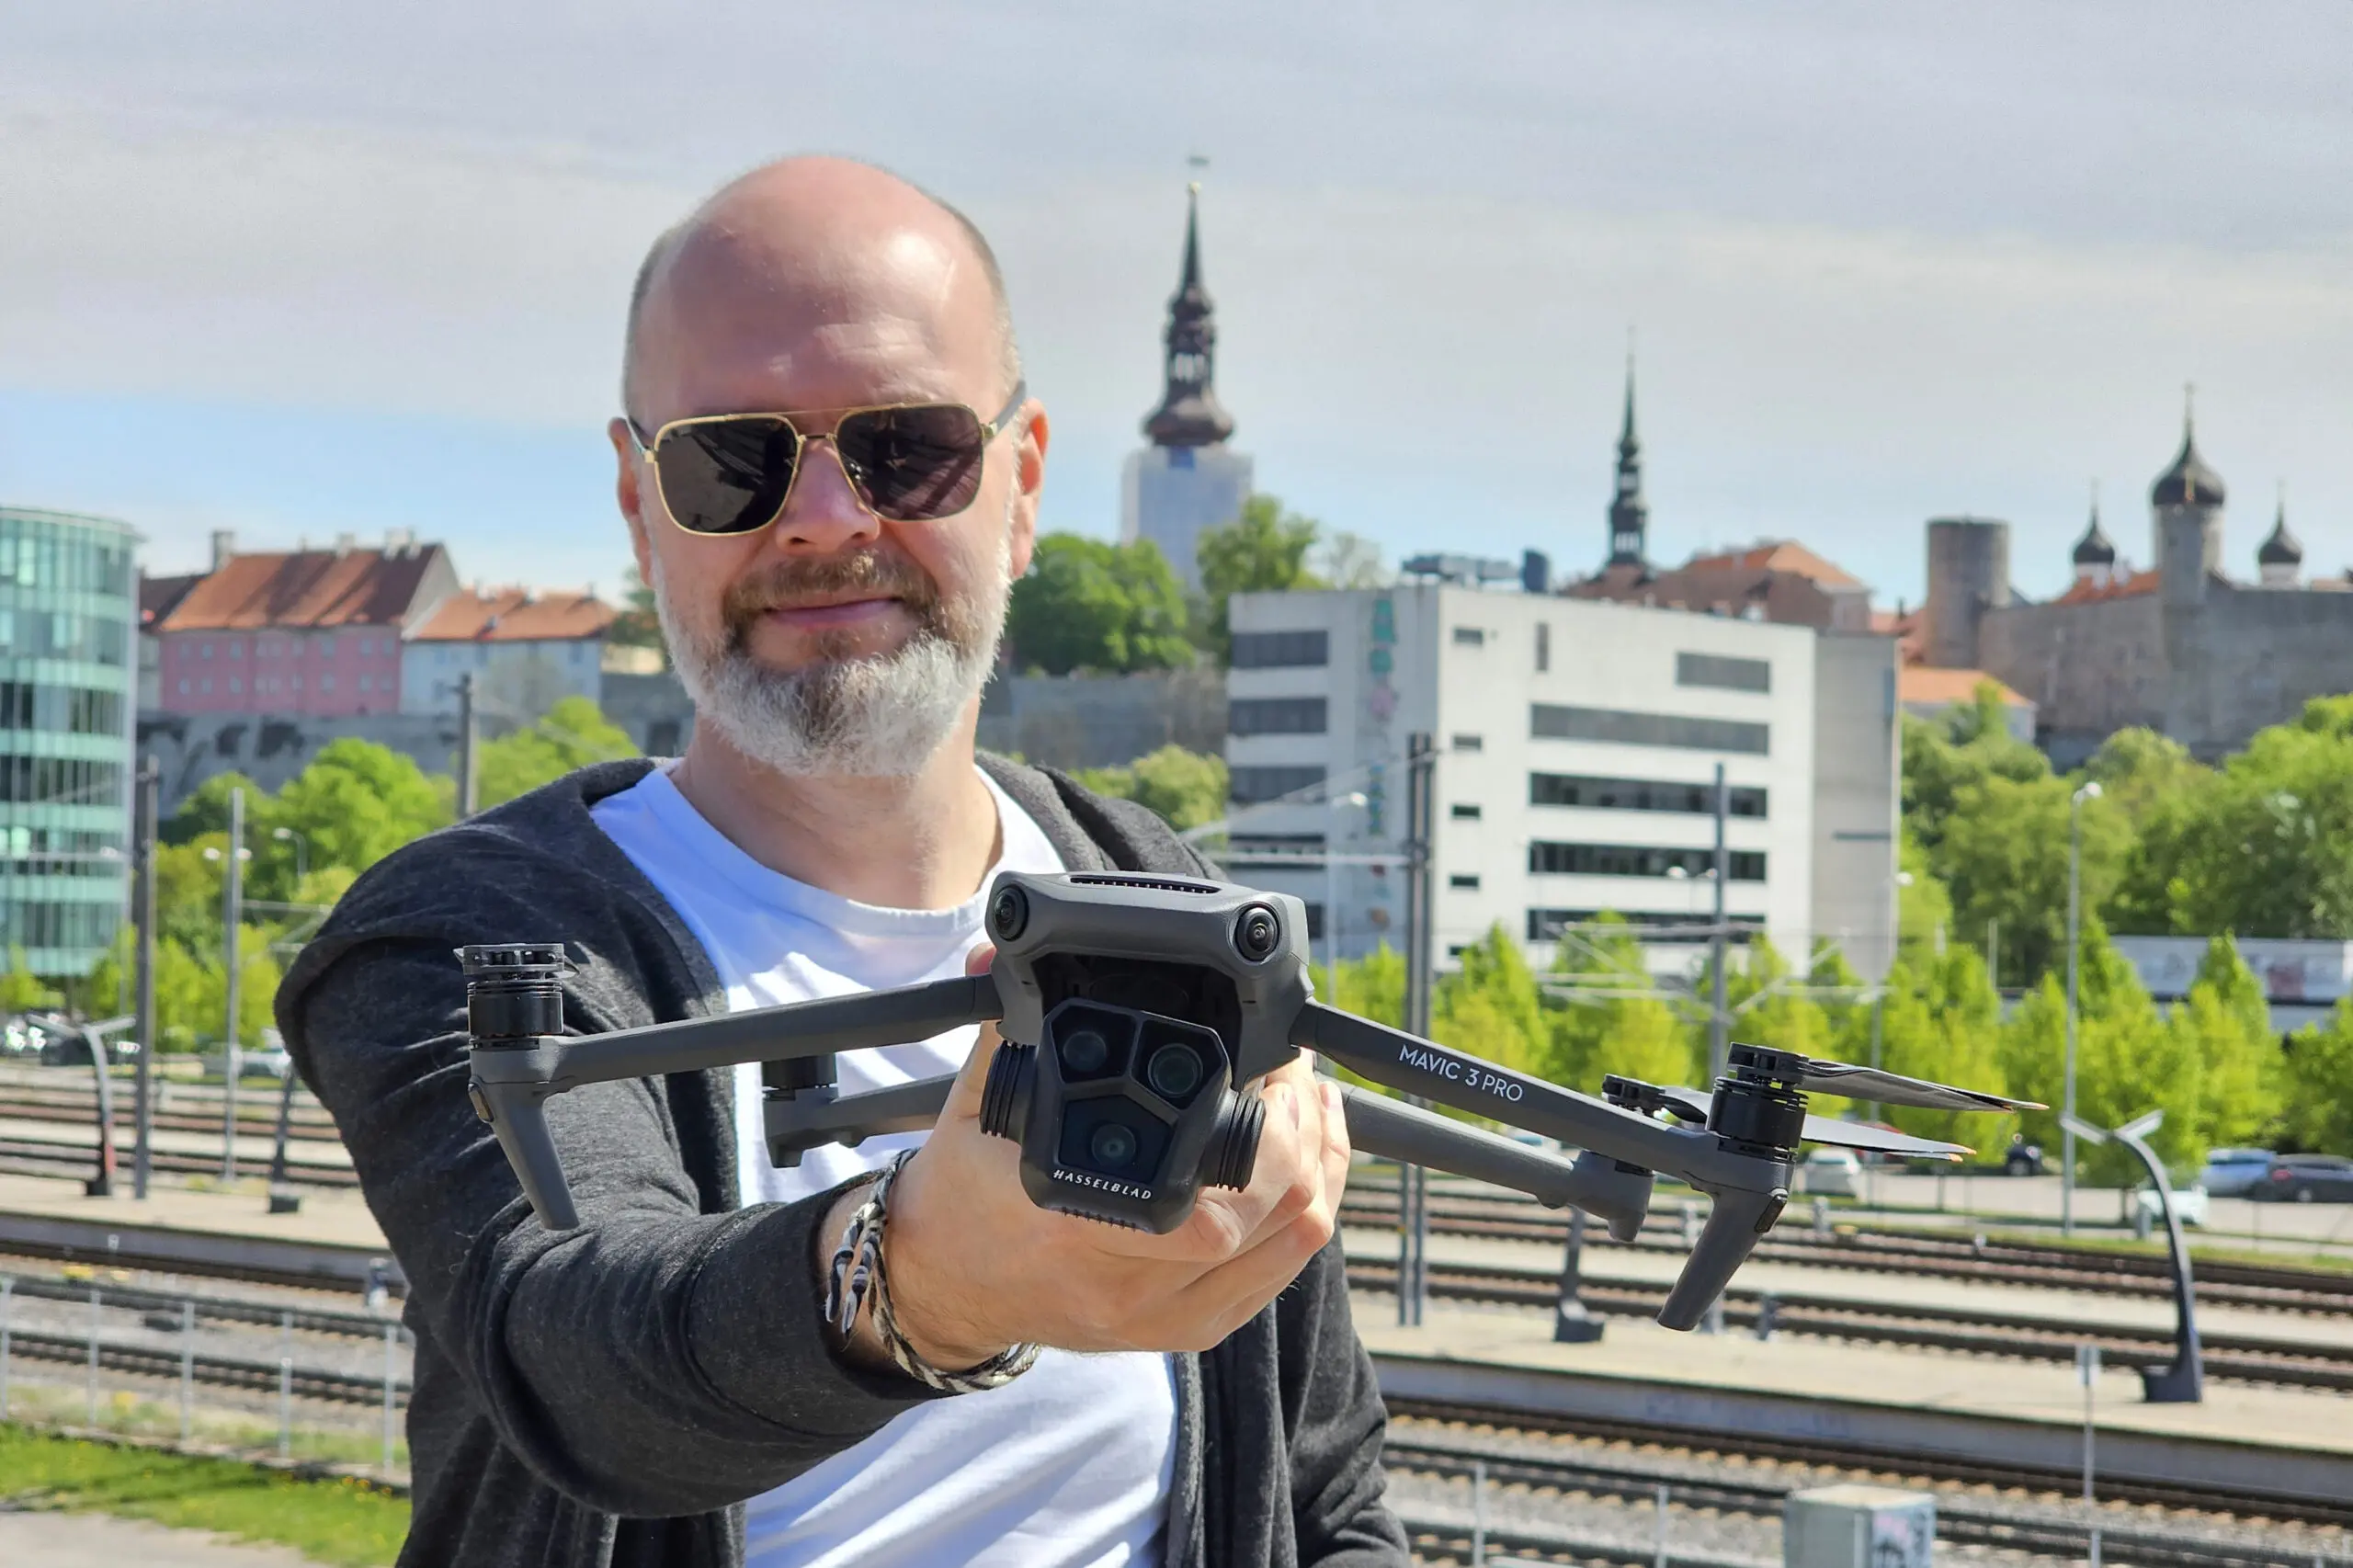
poiler alert – yes, we got it! As a photographer, I’ve been wandering the world of drones for almost a decade now, and have owned a variety of models from small drones to large drones. In that time there have been huge technical advances.
One of the most spectacular was undoubtedly the larger Dji Inspire 2, with a wide range of lenses (15, 25 and 45mm) making it a real flying photo studio. 2021. In 2007, I gave it up when the Mavic 3 hit the market. The Mavic 3 has been a very very good workhorse for me, but I clearly missed one key difference from the Inspire 2 days – the longer lenses, which greatly expanded my creative playing space. With the arrival of the Mavic 3 Pro, this was finally addressed.
I’m not going to focus too much on anything else in this article – everything is as good as before, batteries and flight performance, and there are plenty of reviews on all of that. Let’s talk about cameras, and in particular photography.
Comparison and innovation
The previous model – the Mavic 3 – had a great Hasselblad camera with a 24mm lens and on top of that a 160mm camera with a relatively crappy soft image, which is fine for observing, but it didn’t produce quality work and I never used it in the field. Incidentally, this model is no longer sold – there is now the DJI Mavic 3 Pro (with 3 cameras) and the DJI Mavic 3 Classic (with 1 camera).
The Mavic 3 Pro brought 2 changes at the same time – the telephoto is now a full 166mm with a much better image. A third – a much more practical f2.8 fixed aperture of 70mm – has been added. This 70mm is the most unique and drone-enhancing upgrade of the Mavic 3 Pro. The advantages of the Mavic 3 Pro over the Inspire 3 are therefore – smaller, quieter, safer, 5x cheaper, longer flight and 3 lenses on board. The Inspire 3’s advantages remain, of course, a full frame camera from the photographer’s point of view. But having those 3 lenses on board at all times is super convenient, because you don’t have to come back in between, land, change lenses and so on with every cell. If there is good light for a few minutes, you just don’t have time to change.
So we now have 3 cameras on board.

Main camera: wide angle 24mm
- 24mm, f2.8-f11
- Micro Four Thirds sensor (about a quarter of full frame)
- 20 Mpx (5280×3956px)

It’s the same as the previous model, with excellent image quality and dynamics from Hasselblad. Definitely the best camera in its class, high quality wide angle.

News: half-tele 70mm
- 70mm f2.8 (fixed aperture)
- 1/1.3 inch sensor (approx. 76% of the pixel)
- 48 Mpx native (8064×6048px) or 12 Mpx bonded (4024×3016px)

Nicely sharp and, given the relatively small sensor, a perfectly good camera. It seems to me that it is comparable to the DJI Mini 3 Pro camera in quality, also similar in parameters sensor size, glass is of course different (for the halves).
A very practical range, which in my work often translates into being able to ‘shrink’ space. If a normal wide angle camera captures, for example, an old town view of the back of a building further away from the human eye (and that’s not exactly a selling point of the object), 70mm brings it 3x closer to the object and is much truer to the human eye. The “focal length” of the human eye is perceived to be somewhere in the 50-70mm range.

The 70mm can also be used in the dark. Haven’t tried it in wind yet.

It’s also handy for capturing details, and why not events and other restricted areas, from a safe distance or out of bounds. For example, the Stenbock House or the Parliament Palace, which would require prior permission.
In video, this allows for a fierce parallax effect where foreground and background move in layers relative to each other.
As telescope: 166mm tele
- 166mm f3.4 (fixed aperture)
- 1/2 tolline sensor
- 12 Mpx (4000×3000px)
166mm. The drone and I were at Circle K in the city hall at the time:

This so-called 7x zoom is actually a rather impractical focal length for a drone. It has been very well suited for use as a reconnaissance drone in Ukraine, where it is very popular, as the zoom goes up to 28x.

166mm video:
The telephoto is now whiter at f3.4 and significantly (!) sharper than the previous 160mm. Quite usable for certain situations, such as social media posts, nature observation, etc. The glass itself is pretty sharp, but the colours and stuff need more work.
Each camera’s shooting angles:

I discovered another interesting possibility – when I hover it low over the sea, I can film the birds without disturbing them. The camera is surprisingly stable and produces 4K video, although the image quality is somewhat below its shorter brothers.
Here’s an example of zoom performance. 3x and 7x are very competent, the rest is digital zoom.
C2 marking and A2 category, exam
Unfortunately, the Mavic 3 Pro is a few tens of grams heavier, over 900g, which puts it in C2 class (official label on the top) and therefore in A2 category. The standard Mavic 3 is C1 and A1.
By the way, I have an article on Estonian drone rules and the drone map in general here. You can read more about the open categories (A1, A2, A3, which include drones marked C0, C1, C2 and C3) on the Transport Administration’s website. There’s also a little tool to test which category you fly.
The main difference is that some additional restrictions apply and you have to take the A2 exam. The exam is fortunately not difficult, and consists largely of weather knowledge and ways to fly safely. The A2 study material can be found on the Transport Agency website, in the Chapter 3 section.

Since the Mavic 3 Pro has the official C2 marking:
- No flying over groups of people
- Keep within 30m of people or 5m at low speed .
- You must also keep away from people, taking into account the 1:1 rule where height = distance from people. For example, when flying at 50m, you need to be 50m away.
- A2 exam must be passed
If you have another drone that weighs between 900g and 2 kg but DOES NOT have the official C mark, the rules are stricter:
- 50m from people
- A2 exam must be passed
To take the A2 exam, you need to apply from the licence:
Log in > Applications > Start a new application from > Application for an A2 certificate of competence in remote piloting
You will then receive an email to register for the exam. Validate your time and the exam will take place at Ark’s Mustamäe service office at Heli 6. Walk in the door and an information aide will guide you where the exam will take place. Bring your ID card.
The exam consists of 30 questions ( the topics are the same as in the three chapters of the A2 study material), time 45 minutes, multiple choice answers on a tablet. Took me about 10 minutes and 100% result, not difficult. A2 materials just read-listen through a few times.
For example, you will be asked about turbulence (make a distinction between mechanical (forests, buildings) and thermal (air movement due to solar heat)), a few questions about cold, batteries on W and Wh, the 1:1 rule (if you fly 20m above the ground, you have to be 20m away from people), the effect of wind, propellers, air thinness, and so on.
To sum up
The DJI Mavic 3 Pro is the drone I’ve been waiting for as a photographer for years. It’s small, quiet, relatively safe, reasonably priced, with a long-lasting battery and a unique 3-camera system right on board.
The innovative 70mm is definitely one that finds active application in my work. The first commissions are already very positive in this respect. Of course there is still room for improvement, but there always is and future models will certainly bring it. We live in very exciting times!
Photos by Kaupo Kalda and DJI.com
PS. When people ask me where I recommend to buy drones, the answer is always the same – from the importer drone.ee, who also guarantees you a strong customer support and service.

70mm example